How Much Can a Tire Be Repaired? A Comprehensive Guide
Introduction
Maintaining your tires helps ensure your car runs safely, smoothly and doesn’t waste gas. Learning what can and cannot be repaired in tires, along with how to do it right, helps drivers pick the best solution, care for their tires and enjoy the best driving experience. In this thorough guide, you’ll learn about when tires can be repaired and when it’s better to replace them.
Exploring the Internal Frame of Tires
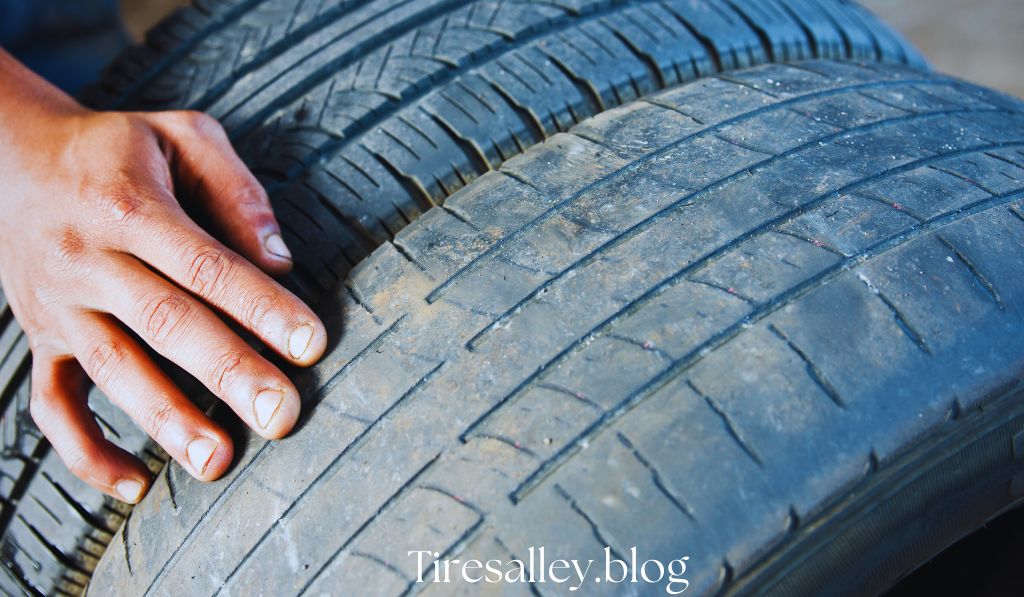
To know how repairable tires are, we have to know about their structure. Different parts make up the standard tire.
- Tread: The part of the tire that meets the road to give a sense of grip.
- Sidewall: The side of the tire that helps you control lateral movements and absorbs shocks.
- Bead: The area inside the tire that keeps it from coming loose on the rim.
- Inner Liner: A part that keeps the pressure inside the tire.
- Plies and Belts: Using layers of fabric and steel, Plies and Belts increase the load capacity of the crane.
Every element in the tire is important for its performance and for deciding if a repair is possible.
Common Types of Tire Damage
Not all tire damage is the same and how something damages a tire can make repair work different.
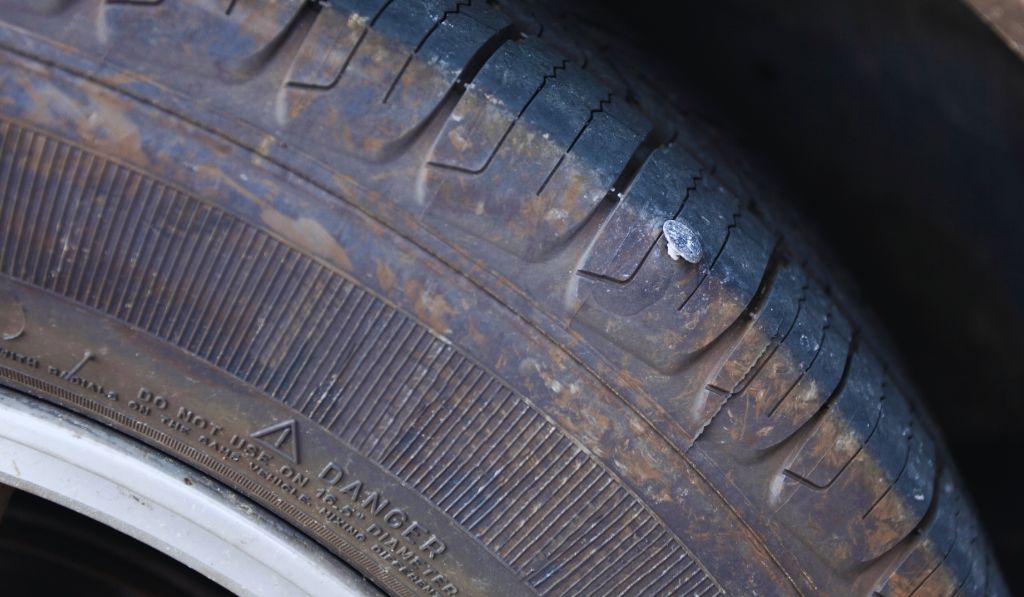
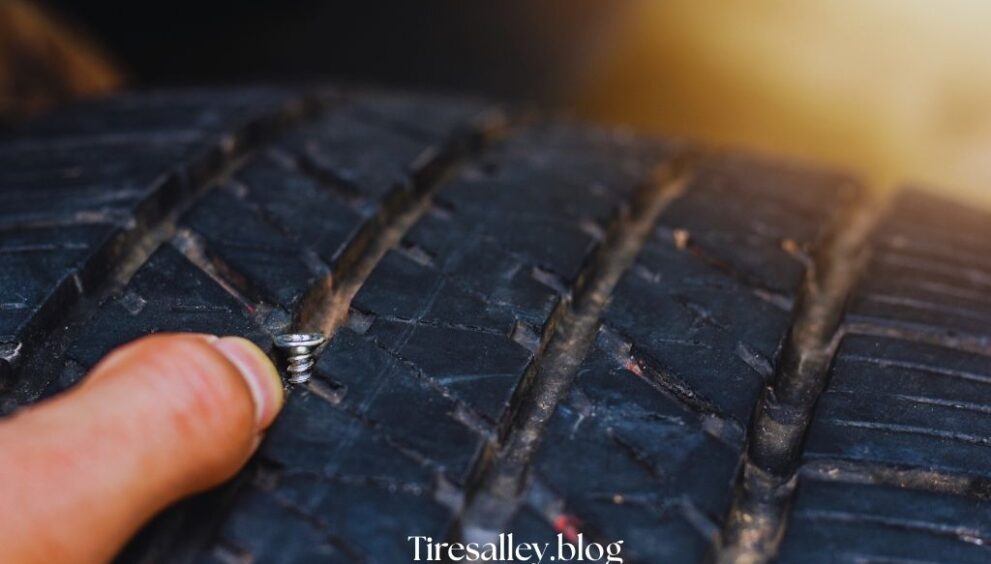
1. Punctures
- Several small dents caused by sharp things such as tools or drywall nails.
- It’s Often Found On the Tread.
- Repair ability: Many times these loads can be repaired depending on their sizes and locations.
2. Cuts and Gashes
- These are slashlike or deep gouges in the tire’s surface.
- Common place: Along the side of the tire or on the tread.
- Generally, you can’t fix normal PU tires if they are punctured deep or on the sides.
3. Sidewall Bulges
- Signs: Bulges or bumps along the sidewalls.
- Impact damage weakened the structure internally which led to its demise.
- The vehicle cannot be repaired, because a new tire is needed each time.
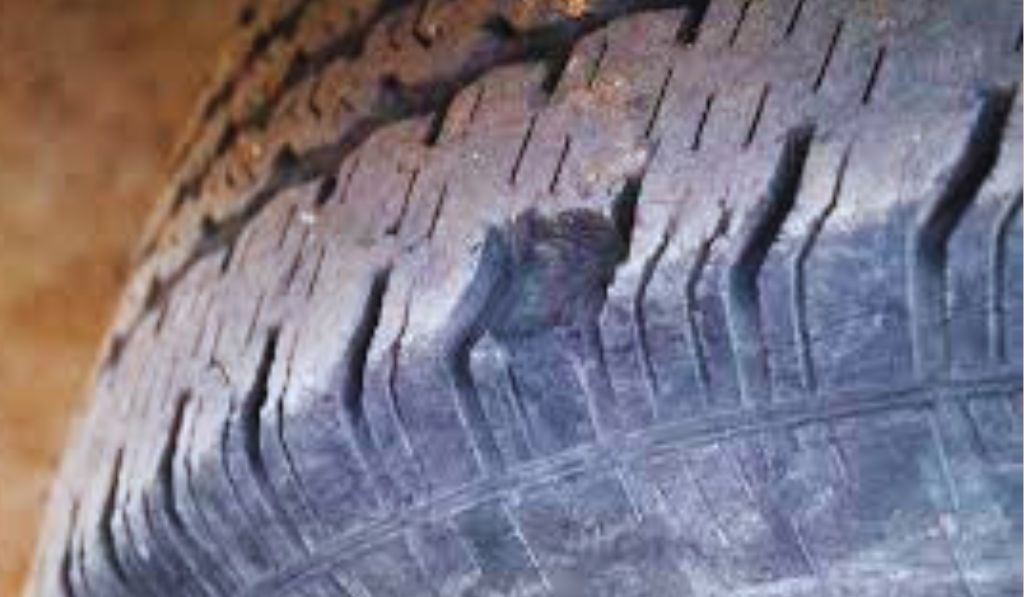
4. Tread Separation
- Detail: Removal of the tread from the main tire body.
- Cause: Problems in the production process or materials or use over a long period.
- Devices in this category are not able to be repaired and must be replaced.
Assessing Repairability
To decide if a tire can be repaired, several things need to be checked.
1. Where the damage is found
- Repairable Zones: The central three-quarters of the tire’s tread.
- These zones cannot be repaired: sidewall, shoulder and bead areas.
2. How much damage was caused
The largest puncture that can be repaired:
- Passenger Cars: The wire is no larger than 1/4 inch (6 mm) in diameter.
- Light Trucks: Diameter is up to 3/8 inch (10 mm).
3. The number of repairs made to a car
It is allowed to make several repairs when:
- They are no closer than 16 inches to each other.
- Their locations do not interfere with the building’s structural strength.
4. Tread Depth
- The minimum legal depth for tread is 1.6 mm.
- If the tread depth is less than 2/32 inch, the tires should not be repaired.
5. Tire Age and the Condition
Considerations:
- It is not usually safe to repair tires that are more than six years old.
- When dry rot, cracks or major wear are visible, it becomes less likely that repairs can be done.
Tire Repair Industry Guidelines

Many organizations have developed standards for repairing tires.
1. The Tire Industry Association (TIA)
Stresses the importance of following the right repair steps such as removing the tire from the rim to check inside.
2. The Rubber Manufacturers Association (RMA)
Indicates which areas can be repaired and the maximum size of a puncture allowed.
3. The British Standards Institution (BSI)
In the UK, BS AU 159 describes which areas can be repaired and how.
4. Manufacturer Guidelines
Always look at the manufacturer’s guidelines, as they may have special requirements.
Ways to Fix and Repair
It is very important to use the right repair methods for both safety and durability.
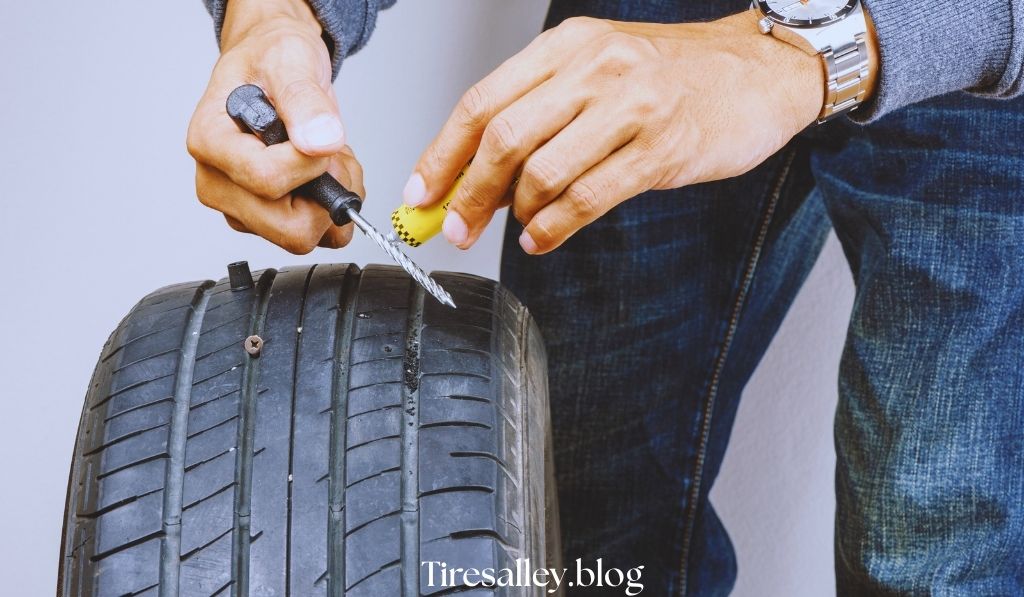
1. Plug and Patch Combination
Procedure:
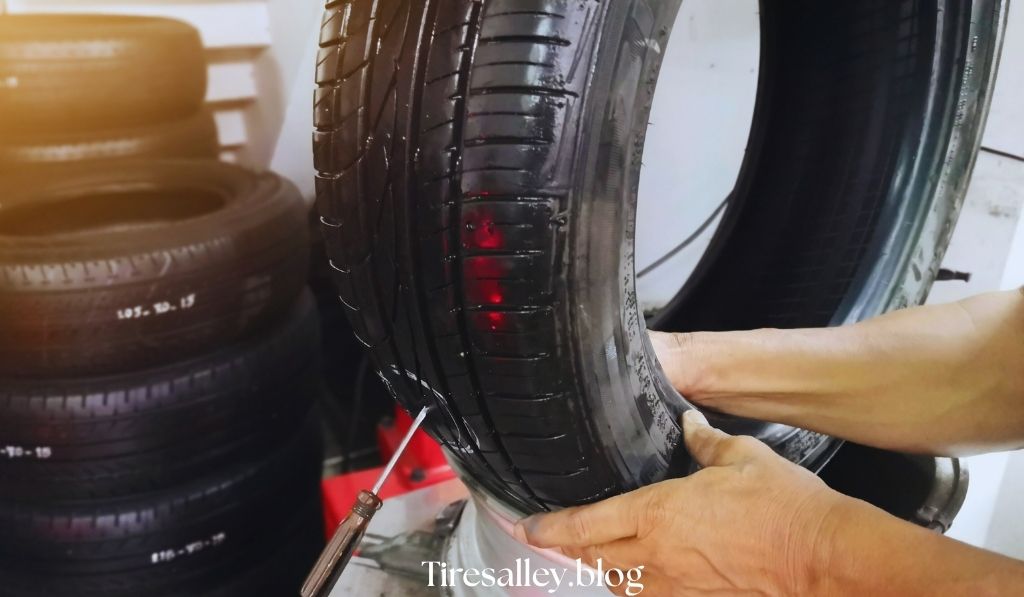
- Take the tire off the rim.
- Check the inside of the vehicle for any problems.
- Clean and take care of the spots where the holes are located.
- Put a rubber plug into the hole to seal it.
- Put a patch on the inside of the boot to cover the hole.
Advantage: Seals the area tightly and securely.
2. Plug-Only Repairs
The process involves putting a plug into the tire from the outside without taking it off.
Disadvantages:
- It is not possible to inspect the inside of the package.
- Can leave the inner liner unprotected.
- Not usually advised for permanent solutions.
3. Patch-Only Repairs
Applying a patch to the inner liner without fixing the hole.
Disadvantages:
- May permit water to get inside the tire.
- It is not as successful as using both plugging and patching.
- There are Rules and Restrictions
- It is important to know the rules and boundaries of tire repair.
1. Non-Repairable Conditions
Examples:
- Punctures holes that are larger than what is allowed by the standard.
- Damage found in areas that cannot be repaired (sidewall and shoulder).
- Tires that have cords showing or serious damage to their structure.
2. Legal Regulations
- In the UK, repairs to tires are regulated by BS AU 159.
- In the USA, RMA and TIA outline the necessary steps.
- Repairs should always return the tire to its original level of performance.
3. Liability
- When repairs are not done correctly, accidents may happen which can lead to legal problems for repair shops and their technicians.
- There are special cases where run-flat and specialty tires are used.
Some types of tires require special attention
1. Run-Flat Tires
- Characteristics: Able to function for a short time after the air pressure is lost.
Repairability:
- A number of manufacturers suggest not repairing run-flat tires.
- Repair should only be done after a complete look inside the device.
2. Self-Sealing Tires
- Feature: Contains a sealant that seals small holes on its own.
- Repairing: Just like standard tires, but the sealant can make it harder to fix them.
3. Acoustic Tires
- Feature: The mattress includes foam layers that help reduce noise.
- Repairing: The foam layer must be considered in any repairs; always follow the manufacturer’s instructions.
Safety Considerations
Safety during and after tire repairs is achieved by following these steps:
1. Professional Assessment
It’s important to have a professional inspect and repair your tires.
2. Post-Repair Monitoring
- Check the tires you’ve repaired on a regular basis for:
- Ensuring the air pressure is always correct.
- Sounds or vibrations that are not normal.
- Damage that can be seen with the eye.
3. Don’t try to fix things yourself
Using aerosol sealants or plugs from the outside is only for emergencies and should be followed by a professional repair.
Conclusion
To repair a tire, you must pay attention to where the damage is, how big it is and how well the tire is holding up.
Sticking to industry rules and getting advice from professionals guarantees that your tires are repaired safely, effectively and last longer. If you’re unsure what to do, a tire specialist can help you decide.
Frequently Asked Questions (FAQs)
Are all punctures able to be fixed?
No. Only punctures found in the central area and that are smaller than certain sizes can be repaired.
Is it okay to keep repairing a tire rather than replacing it?
You can make more than one repair, but they should be far enough apart and not damage the tire.
Is it possible to fix damage that occurs on the sidewall?
Usually, no. Any damage to the sidewall can compromise the car’s structure and is not safe to repair.
Can you trust plug-only repairs?
Plug-only repairs should not be used for permanent solutions, because they do not let you inspect or seal the inside of the pipe.
How much distance can I travel on a tire that has been repaired?
If the repair is done properly, a tire can still work safely for the rest of its tread life. It is recommended to check the system regularly.